
You can fill nail holes in a wall in about an hour for the whole apartment, and the total cost is under ten dollars. All it really takes is a small tub of lightweight spackle, something flat to spread it with, and a little patience while it dries. Landlords absolutely do check walls during move-out inspections, and a scattering of nail holes is one of the most common (and most avoidable) deposit deductions there is.
The good news is that small nail and screw holes are considered easy cosmetic repairs, and a decent patch job makes them genuinely invisible. Here’s the full process, plus what to do about bigger anchor holes and how to handle the paint touch-up, which is honestly the part most people get wrong.
What You’ll Need
For standard nail holes, the shopping list is short:
- A small tub of lightweight spackle (the pink kind that dries white is beginner-friendly because you can see when it’s ready to sand)
- A putty knife, or an old gift card or plastic scraper if you don’t want to buy one
- Fine sandpaper, around 220 grit, or a sanding sponge
- A damp cloth
That’s it for 90 percent of holes. Skip the giant tub, because the smallest size will patch several apartments’ worth of holes and it dries out in the container long before you’d finish it.
Step 1: Prep the Hole First
This step takes ten seconds per hole and it’s the difference between an invisible patch and a visible bump.
When a nail comes out of drywall, it usually pushes a tiny raised crater of paint and drywall paper up around the hole. If you spackle over that ridge, you get a little bump on the wall that catches light and shadow. So before filling anything, press the crater flat. The rounded end of a screwdriver handle works well: set it over the hole and give it a firm push and a small twist. You’re gently denting the ridge back below the wall surface.
Then wipe the area with a damp cloth to clear off dust. Spackle sticks much better to a clean wall.
Step 2: Fill, Scrape, and Let It Dry
Scoop a small amount of spackle onto the corner of your putty knife and press it into the hole at an angle, like you’re buttering toast against the wall. Then drag the blade flat across the hole in a couple of directions to scrape off the excess. The goal is a patch that’s flush with the wall, or a hair proud of it, since spackle shrinks slightly as it dries.
A few things that tend to trip people up:
- Don’t overwork it. Two or three passes with the knife is plenty. The more you fiddle, the rougher it gets.
- Deeper holes need two coats. Fill, let it dry fully, then add a thin second layer. One thick glob will shrink, crack, or sag.
- Drying takes longer than the label says. The tub might promise 30 minutes, but in a humid bathroom or on a cold wall, give it a couple of hours to be safe.
If you’re using the color-changing spackle, wait until every trace of pink is gone before touching it.
Step 3: Sand It Smooth
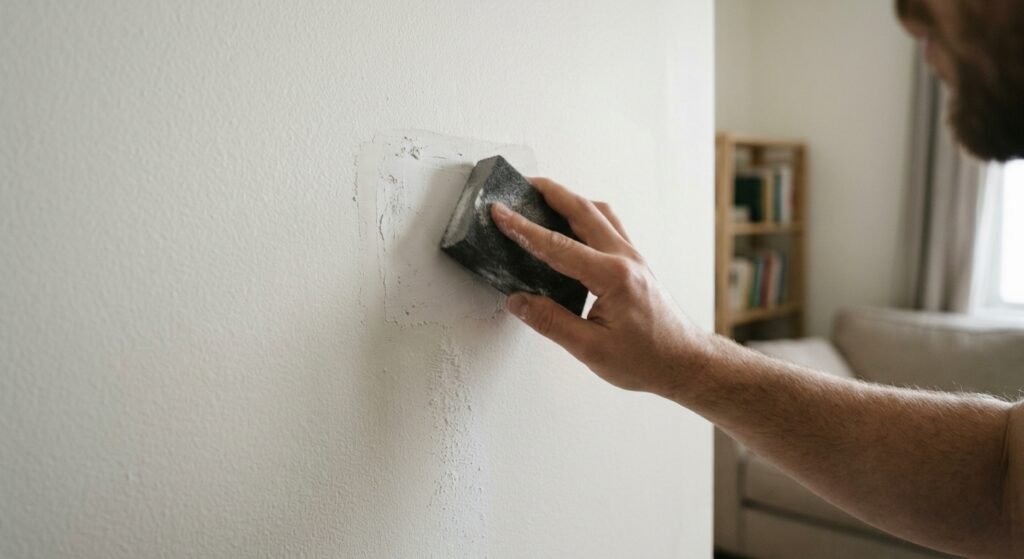
Once dry, lightly sand the patch with fine sandpaper using small circles until it feels perfectly smooth under your fingertips. Close your eyes and run your hand over it, because your fingers will catch a ridge your eyes miss. Wipe away the dust with a barely damp cloth.
For tiny nail holes, a damp cloth alone can sometimes smooth the patch without any sanding, which is handy if you’re doing this in a furnished room and don’t want dust everywhere.
Step 4: Deal With the Bigger Holes
Wall anchor and screw holes need slightly more effort, but the process is similar.
- Plastic anchors should come out first. Grip the collar with pliers and pull while wiggling, or gently pry with a flathead screwdriver. If one absolutely won’t budge, tap it slightly below the wall surface with a screwdriver and hammer, then spackle over it.
- Holes bigger than a coin need a patch, not just spackle. Hardware stores sell self-adhesive mesh patches for a few dollars. Stick the patch over the hole, spread spackle or joint compound over it in a thin layer that feathers out past the edges, let it dry, add a second coat, and sand.
- Toggle bolt holes from heavy shelving fall into this mesh-patch category too.
If you’re reading this before you’ve hung anything, future you will be much happier if you use damage-free hanging methods from the start. Our guide to hanging heavy things without drilling covers renter-safe options that leave nothing to patch later.
Step 5: Touch Up the Paint (The Part That Gives People Away)
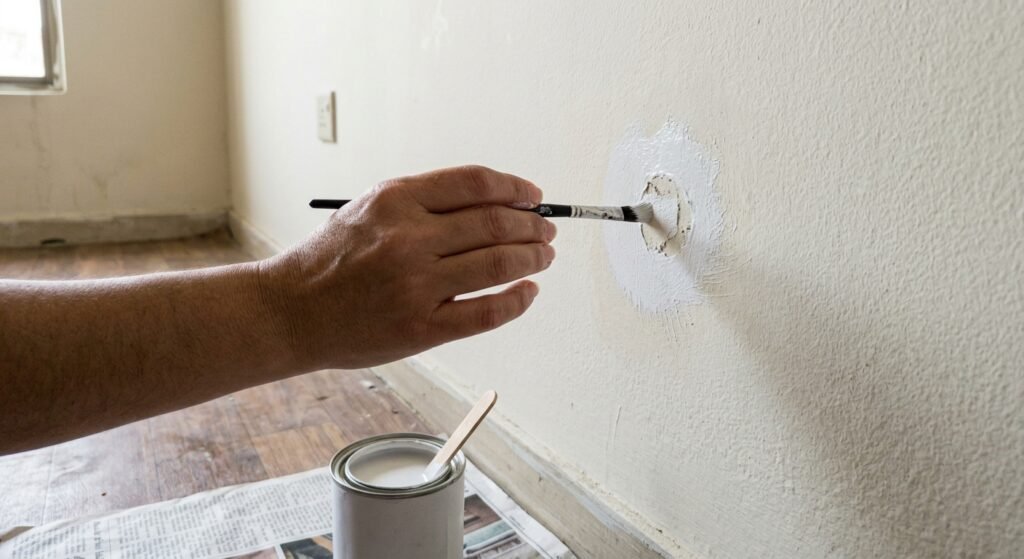
A white spackle dot on a white wall still shows, because “white” comes in a hundred shades. Here’s how to handle paint:
- Check for leftover paint first. Landlords often leave a labeled can in a closet, garage, or utility cupboard. If you find it, stir well and dab a little over each patch with a small brush or even a cotton swab, feathering the edges.
- No paint can? Ask. A quick message to the landlord or property manager asking for the paint color and brand takes one minute and shows good faith. Many will just tell you, or say not to bother.
- Match carefully if you must buy. Hardware stores can color-match from a chip, but honestly, for a handful of tiny patched nail holes on a neutral wall, a careful spackle-and-sand job alone often passes inspection fine.
One warning: don’t paint big obvious squares over each patch with slightly-wrong paint. Mismatched touch-up blotches look worse than tiny clean patches and draw the eye straight to them. Dab small, feather the edges, and stop.
When to Do This Before Move-Out
Give yourself at least two or three days before the inspection, not the morning of. Spackle needs to dry fully, second coats need time, and touch-up paint can take a day to blend as it cures. This is one of the classic cheap wins we covered in easy home repairs for renters, and doing it early means you’re not sanding walls at midnight before handing back keys.
While you’ve got the putty knife out, it’s also worth a quick pass on any door hardware issues, like the ones in our guide on how to fix squeaky door hinges, since inspectors notice sounds as much as sights.
FAQs
Can I use toothpaste to fill nail holes in a wall?
In a genuine emergency, plain white toothpaste can hide a pinhole for a day or two. But it shrinks, cracks, can yellow, and it never sands smooth, so an inspector running a hand over the wall will feel it. A tiny tub of real spackle costs a few dollars and does the job properly, so toothpaste is a last resort, not a plan.
Will my landlord charge me for nail holes?
It depends on the lease and the quantity. A few small holes are often treated as normal wear and tear, but many landlords deduct for patching and repainting anyway, especially with lots of holes. Filling them yourself takes an hour and removes the question entirely, which is usually worth it.
Do I need primer over the spackle before painting?
For tiny nail holes, usually not. For larger patched areas, yes, because spackle absorbs paint differently than the surrounding wall and the patch can show as a dull “flashed” spot. A quick dab of primer, or two thin coats of the touch-up paint, solves it.
How long does spackle take to dry?
Small nail holes are typically dry in 1 to 2 hours, though humidity stretches that. Deeper fills and second coats can need overnight. If the patch feels cool to the touch, it’s still damp inside, so wait before sanding.
What if the hole is in plaster instead of drywall?
Same basic process, but plaster is harder and more brittle, so skip the crater-denting step and just brush out any loose crumbs first. For hairline cracks radiating from the hole, a flexible filler works better than standard spackle.